Why You’ll Love This Recipe
There’s so much to adore about Cottage Cheese Chips. Here’s why they’re a must-try:
- High in Protein : Made from cottage cheese, these chips are a great way to boost your protein intake.
- Low-Carb and Keto-Friendly : A guilt-free snack option for those watching their carb intake.
- Customizable : Add herbs, spices, or seasonings to suit your taste.
- Easy to Make : Just three ingredients and a few simple steps are all you need.
- Kid-Friendly : Even picky eaters will love these crunchy, cheesy bites.
Ingredients You’ll Need
The secret to these crispy, flavorful chips lies in their simplicity. Here’s what you’ll need:
For the Chips:
- 2 cups cottage cheese (low-fat or full-fat, depending on preference)
- 1 large egg
- ½ cup grated Parmesan cheese (or nutritional yeast for a dairy-free option)
Optional Seasonings:
- Garlic powder
- Onion powder
- Paprika
- Italian seasoning
- Everything Bagel Seasoning
- Chili powder or cayenne pepper (for a spicy kick)
Step-by-Step Instructions
Ready to whip up these crunchy, protein-packed chips? Follow these easy steps:
Step 1: Preheat Your Oven
Preheat your oven to 375°F (190°C) . Line a baking sheet with parchment paper or a silicone baking mat for easy cleanup.
Step 2: Prepare the Mixture
- In a mixing bowl, combine the cottage cheese, egg, and Parmesan cheese. Mix until smooth and well combined.
- If desired, stir in your favorite seasonings (e.g., garlic powder, paprika, or Italian seasoning) to add extra flavor.
Step 3: Shape the Chips
- Drop small spoonfuls of the mixture (about 1–2 teaspoons each) onto the prepared baking sheet, spacing them about 2 inches apart.
- Use the back of a spoon or a spatula to spread each spoonful into thin, even circles (about 2–3 inches in diameter). The thinner they are, the crispier they’ll get!
Step 4: Bake the Chips
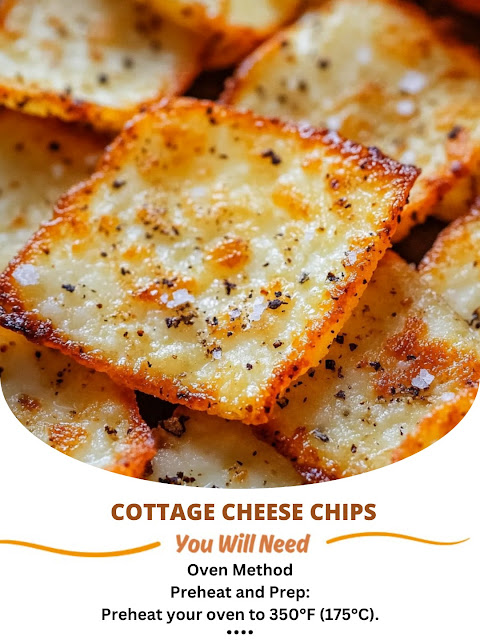
- Bake in the preheated oven for 15–20 minutes , or until the edges are golden brown and the chips are firm to the touch.
- Rotate the baking sheet halfway through baking to ensure even cooking.
Step 5: Cool and Crisp
- Remove the chips from the oven and let them cool completely on the baking sheet. They’ll continue to crisp up as they cool.
- Once cooled, carefully peel the chips off the parchment paper.
Step 6: Serve and Enjoy
- Serve the chips plain or pair them with your favorite dips, such as salsa, guacamole, ranch, or hummus.
- Store any leftovers in an airtight container at room temperature for up to 3 days (if they last that long!).
Why This Recipe Works So Well


